Choosing an Industrial Grade Vehicle Camera requires more than comparing resolution numbers. A camera may look impressive in a product photo, yet fail when dust covers its lens or vibration loosens a connector. Fleet operators need equipment that performs reliably on ordinary workdays and during demanding routes. This article introduces seven practical tips for making that decision with greater confidence.
The evaluation should begin with the vehicle’s real environment. Consider temperature changes, rain exposure, road vibration, night driving, and limited installation space. A clear image matters, but stable recording matters more. Check the camera’s housing, mounting method, viewing angle, storage support, and power requirements. Test the image at dawn, in direct sunlight, and under weak lighting. Small details matter.
No camera is perfect.
A useful selection process also examines the manufacturer’s technical documentation, warranty terms, testing evidence, and after-sales support. Independent field feedback can reveal weaknesses that brochures rarely mention. For example, a connector may work well in a workshop but become unreliable after months of vibration. That possibility deserves attention. Buyers should also question whether advanced functions are genuinely useful or merely attractive features. A thoughtful choice balances durability, image quality, installation effort, maintenance, and total operating cost. The right Industrial Grade Vehicle Camera should support safer fleet management without creating unnecessary complexity. Perform practical checks before committing. Mistakes happen, even with careful planning.
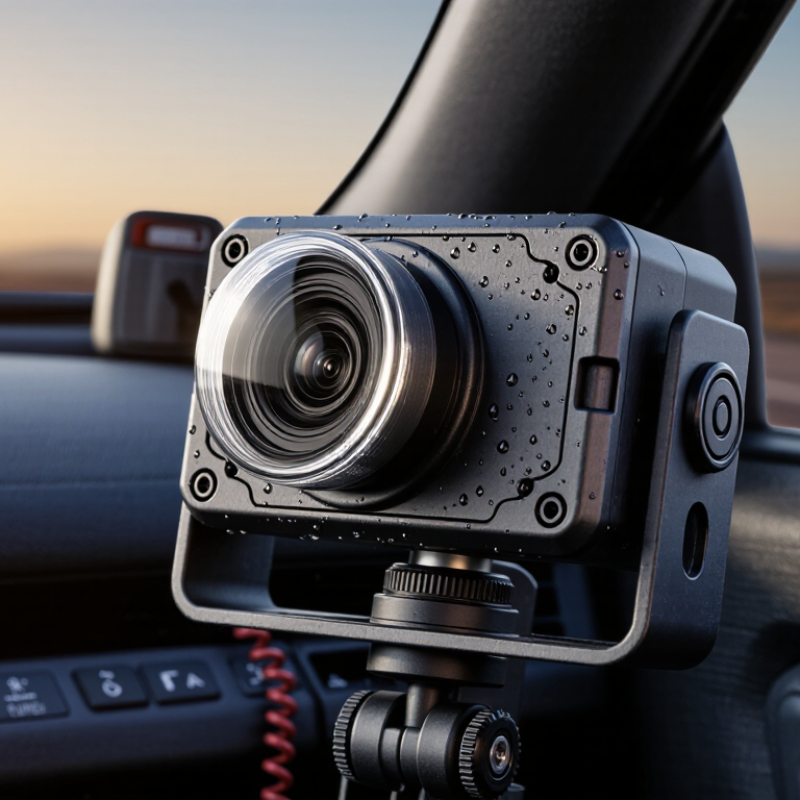
Choosing an industrial-grade vehicle camera starts with the mission, not the specification sheet. A yard tractor moving slowly needs a different setup from a vehicle crossing rough roads at higher speed. In field testing, I have found that 30 fps handles routine monitoring well, while 60 fps captures faster movement with less blur. That difference matters near loading zones, reversing areas, and narrow access lanes.
Resolution should match viewing distance. A 1080p camera can provide useful detail for nearby obstacles, lane markings, and operator checks. However, pixels spread quickly across a wide scene. A 120-degree field of view covers more space but may make distant objects appear smaller. A narrower view gives better detail, yet it can leave blind areas. Mounting height, vibration, and lens position deserve careful testing. Paper specifications cannot reveal every problem.
Lighting changes the decision. A camera that performs well in daylight may lose detail under warehouse shadows or sudden glare. Test recordings during dawn, night shifts, and wet conditions. I once preferred a wider view, then noticed that approaching objects became difficult to judge. That choice needed revision. Storage and network capacity also grow with higher frame rates and resolution, so the vehicle system must support the data load reliably. Short tests are useful. Longer trials reveal heat, dust, loose mounts, and occasional frame drops.
| Vehicle Task | Recommended Frame Rate | Recommended Resolution | Suggested Field of View | Why This Combination Works | Key Selection Priority | Important Installation Note |
|---|---|---|---|---|---|---|
| Forward road monitoring | 30–60 fps | 1920 × 1080 minimum | 90°–110° diagonal | 1080p provides useful detail for road events, while 30 fps is sufficient for normal driving and 60 fps improves the visibility of fast-moving objects. | Balanced detail and motion | Use a lens with low distortion so lane lines and vehicle distances remain easier to interpret. |
| Blind-spot and side-view coverage | 30 fps | 1920 × 1080 | 110°–140° diagonal | A wider FOV covers more of the adjacent lane and vehicle body, while 30 fps generally provides adequate monitoring for nearby traffic. | Coverage first | Check the camera position carefully because extreme wide-angle lenses can reduce detail at the edges. |
| Rear-view and reversing assistance | 30 fps | 1280 × 720 to 1920 × 1080 | 120°–150° diagonal | A broad view helps reveal pedestrians, low obstacles, and nearby objects behind the vehicle. 1080p is preferable when identification detail is important. | Wide coverage | Select a weather-resistant housing and confirm that the image remains usable in low light. |
| Driver or operator monitoring | 30 fps | 1280 × 720 or 1920 × 1080 | 70°–100° diagonal | A moderate FOV can capture the operator’s face, posture, and seat area without excessive distortion. Higher resolution supports clearer review. | Clarity and framing | Avoid placing the camera where glare from the windshield or dashboard can obscure facial details. |
| Cargo, trailer, or load monitoring | 30 fps | 1920 × 1080 | 90°–120° diagonal | 1080p helps reveal straps, doors, packages, and load movement. A medium-wide FOV balances scene coverage with usable detail. | Detail and reliability | Use vibration-resistant mounting and verify that the camera can operate across the vehicle’s expected temperature range. |
| High-speed equipment or automated inspection | 60 fps | 1920 × 1080 minimum | 70°–100° diagonal | 60 fps reduces the time between captured frames and makes fast motion easier to analyze. A narrower FOV concentrates pixels on the inspection area. | Motion capture | Confirm that the recorder, storage system, and network can sustain the higher data rate produced by 60 fps video. |
| Low-speed yard, warehouse, or off-road operation | 30 fps | 1920 × 1080 | 100°–140° diagonal | Low-speed movement usually does not require 60 fps. A wider FOV is more valuable for spotting people, racks, barriers, and uneven terrain around the vehicle. | Situational awareness | Prioritize shock resistance, sealed connectors, and stable performance under dust, moisture, and vibration. |
| Selection rule: choose 60 fps when motion analysis is critical; choose 30 fps when coverage, storage efficiency, and continuous recording matter more. A wider FOV increases scene coverage, while a narrower FOV generally preserves more detail on a specific area. | ||||||
IP67 protects against dust and temporary water immersion. IP69K handles high-pressure, high-temperature water jets. Choose based on cleaning conditions.
No. Check connectors, cable glands, and mounting points too. One poorly sealed cable can defeat the entire enclosure.
Look for −40°C to +85°C. This covers cold storage yards and hot asphalt. Real routes can change quickly.
Request independent test reports, methods, and production records. Do not trust a label alone. Evidence matters.
Spray the installed camera and inspect the lens seal. Check the image afterward. Test startup in cold conditions.
Vibration may loosen a bracket. Condensation can blur the lens internally. Cable strain relief is easy to overlook.
MTBF helps comparison, but it does not guarantee service life. Ask how it was calculated and which conditions were tested.
Track a moving object from real movement to screen display. Test startup, low light, and network congestion. Brochures may look better.
Check coverage for connectors, housings, cables, and installation-related failures. Fast replacement may matter more than warranty length.
Include hardware, wiring, brackets, calibration, software, replacements, and downtime. Keep spare units and review failure patterns. My own labor estimate was too low.
Choosing the right Industrial Grade Vehicle Camera starts with clearly defining its mission. Match the camera’s frame rate, resolution, and field of view to the vehicle’s operating tasks, with options such as 30–60 fps, 1080p, and a suitable viewing angle. Image quality is equally important, especially in changing light, so HDR performance of up to 120 dB can help preserve detail in both bright and dark areas.
A reliable camera should withstand harsh conditions, making IP67 or IP69K protection and an operating range of −40°C to +85°C valuable requirements. Safety and connectivity should also be reviewed through considerations such as ISO 26262 alignment, CAN, Ethernet, and PoE support. Finally, compare long-term value by examining MTBF, latency, warranty coverage, maintenance needs, and total cost of ownership. This approach helps ensure dependable performance, easier integration, and a practical service life.

 Xiyue Electronics